Step 1

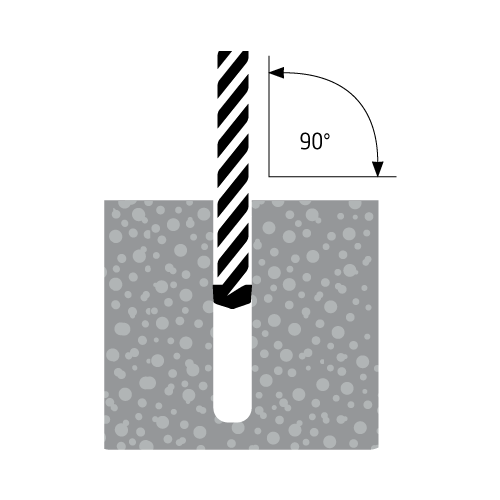
Using the correct diameter drill bit, drill a hole to the required anchor embedment depth plus at least one anchor diameter deeper. (This ensures residual dust doesn’t interfere with the anchor installation).
CAUTION: Ensure hole is drilled perpendicular to the concrete surface with maximum deviation of up to 5° degrees. Failure to do so may cause screw anchor breakage.
Step 2

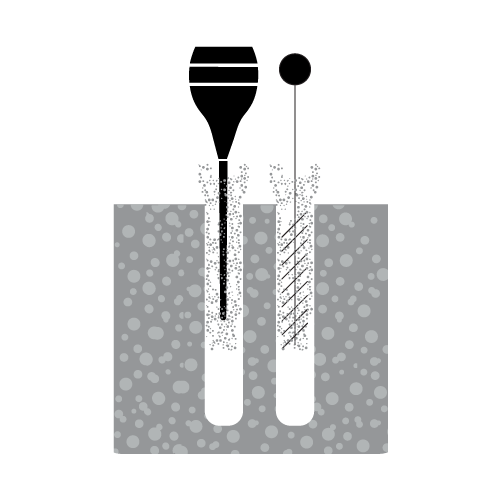
Clean dust and other material from the hole.
CAUTION: DO NOT use a worn drill bit outside of drill bit tolerance specification. Worn Drill bits will affect the anchor installation either during installation or post installation.
Step 3

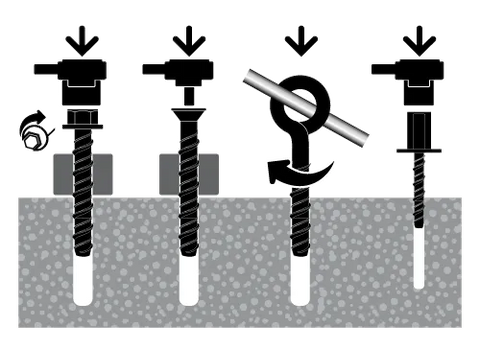
Screw in the anchor using a torque wrench or impact screw gun. Apply pressure against the fixing and rotate to engage the first thread. Continue to tighten the anchor until flanged head is firmly seated against fixture.
CAUTION: When installing a screw bolt with an Impact screw gun do not exceed the recommended torque specifications, failure to comply may result in screw anchor breakage.
Step 4

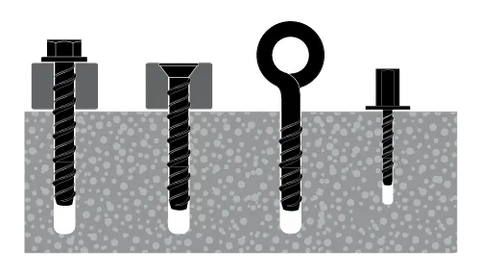
Installation complete!
CAUTION: Do Not over tighten the screw bolt and exceed the recommended clamping torque requirements, failure to comply may result in screw anchor breakage.
IMPACT SCREW GUN TORQUE SPECIFICATION IMPORTANT: Always refer to specific product torque specifications prior to installation. This can be found below, on SESTOFASTENERS.co.nz Screw Bolt product pages, in ICCONS® Technical Data Sheets, ICCONS® Product Guide or on individual product labels.

